Why most product launches lose momentum in the first 5 seconds
You spent weeks preparing your product launch. You have a landing page, a teaser video, an email sequence. You share the link everywhere: Instagram bio, Telegram channel, email signature, VK posts. People click. And then what?
Most of them bounce. Not because your product is bad, but because the link in your bio goes to a page that takes three seconds to load, shows a generic hero image, and asks for an email before explaining anything. The visitor is gone before they understand what you are launching.
The first five seconds after a click are critical. If the page does not load instantly, if the message is not clear, if there is no reason to stay, the visitor leaves. And you never get that visitor back.
A splash screen solves this. It greets the visitor with your brand, a short message, and a reason to wait. While the splash screen is visible, the bio page loads behind it. By the time the splash screen disappears, the page is ready. The visitor sees your content immediately, without delay.
This guide shows you how to use a splash screen with a bio page for a product launch. It covers the setup in Vibes, the scenarios where it works best, and the mistakes to avoid.
What is a splash screen and why it matters for launches
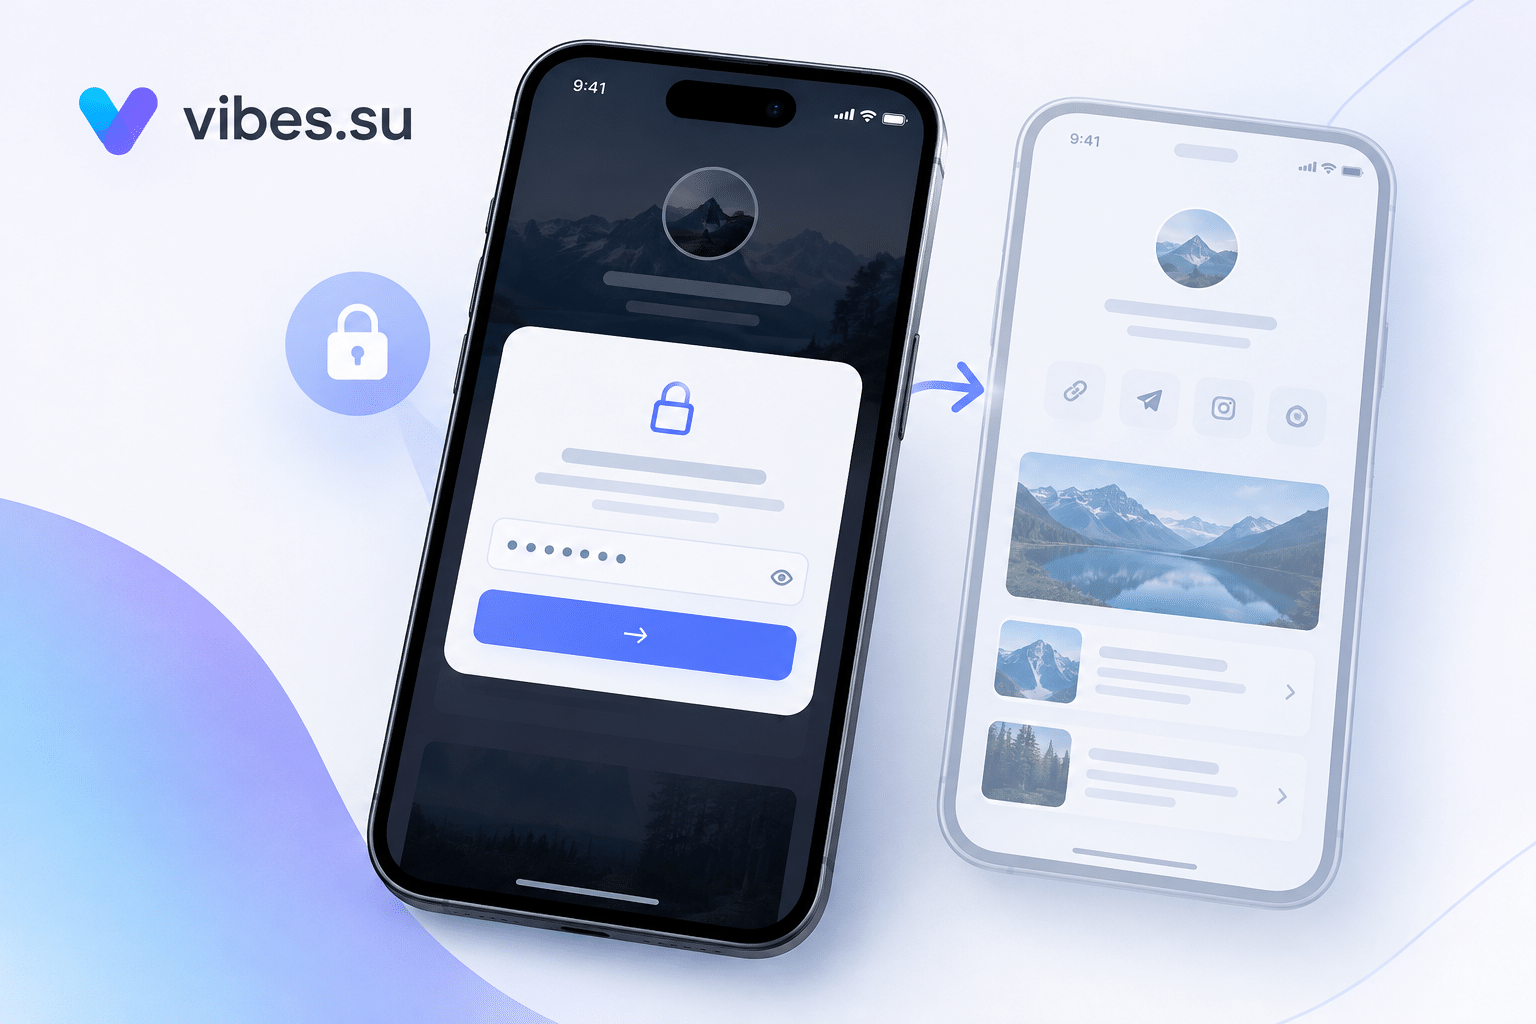
A splash screen is an intermediate screen that appears before the main content. It usually contains a logo, a short message, and sometimes a countdown or a button. The visitor sees it for a few seconds, then it disappears and reveals the main page.
In Vibes, splash screens are a built-in feature. You can add a splash screen to a bio page, configure the logo, the background, the message, and the time before auto-redirect. The splash screen appears when someone opens the page, then transitions to the bio page.
Why does this matter for a product launch? Three reasons.
First, it creates anticipation. A splash screen with a launch date, a countdown, or a teaser message builds excitement. The visitor sees that something is happening, and they want to know more.
Second, it hides loading time. Bio pages with images, videos, and multiple blocks can take a second or two to load. A splash screen masks this delay. The visitor sees the splash screen, and by the time it fades, the page is ready. No blank screen, no frustration.
Third, it reinforces branding. The splash screen is a full-screen brand moment. It shows your logo, your colors, your message. Even if the visitor only stays for two seconds, they saw your brand. This is especially valuable for new products that need recognition.
Bio page vs landing page for a launch
You might wonder why you need a bio page for a launch when you already have a landing page. The answer is speed and flexibility.
A landing page is a single-purpose page. It is built for one offer, one audience, one campaign. It takes time to create, and it usually requires a designer or a developer. If you want to change the offer or add a new link, you have to rebuild the page.
A bio page is a multi-purpose page. It is built for links. You can add a link to your webinar, a link to your product, a link to your Telegram channel, a link to a bonus, all on one page. If you want to add a new link, you add a block. No rebuilding, no developer.
For a product launch, a bio page is often faster and more flexible than a landing page. You can create it in an hour, update it in minutes, and change the offer without rebuilding. If you need a dedicated landing page later, you can build one. But for the launch phase, a bio page with a splash screen is enough.
The combination of splash screen and bio page gives you the best of both worlds: a branded first impression and a flexible list of links. The visitor sees your brand, then chooses what to do next.
How to set up a splash screen on a bio page in Vibes
Step one: create or open a bio page
Log in to your Vibes dashboard and go to the bio pages section. Create a new bio page or open an existing one. If you are launching a product, create a dedicated page for the launch. Do not mix it with your regular bio page, because the launch is temporary.
Step two: add blocks for the launch
Before you add the splash screen, add the content blocks that visitors will see after the splash screen disappears. For a product launch, the key blocks are:
— a headline block with the product name and a short description;
— a link to the product page or the pre-order form;
— a link to the webinar or the demo;
— a link to the bonus or the lead magnet;
— a link to your Telegram channel or VK group for updates;
— an email capture form if you want to collect contacts.
Keep the blocks focused. A launch page should not have twenty links. Five to seven is enough. The visitor should understand what you are launching and what to do next within seconds.
Step three: configure the splash screen
In the bio page settings, find the splash screen section. Enable the splash screen. Upload your logo. Choose a background color or image. Write a short message. For a launch, the message could be: "Something new is coming. Stay tuned." or "Launching on October 15. Get ready."
Set the time before auto-redirect. This is how long the splash screen stays visible. For a launch, three to five seconds is usually right. Too short and the visitor does not see the message. Too long and they get impatient.
If you want, add a button that says "Continue" or "Learn more". This gives the visitor control. They can skip the splash screen if they want. This is useful if the visitor has seen the splash screen before and does not want to wait.
Step four: test on mobile
Open the bio page on your phone. Check that the splash screen appears, that the logo is clear, that the message is readable, and that the transition to the bio page is smooth. Most visitors will open the page on a phone, so the mobile experience is what matters.
Check the timing. If the splash screen disappears too quickly, increase the time. If it feels too slow, decrease it. The goal is a smooth, natural transition.
Step five: share the link
Share the link to the bio page everywhere: in your Instagram bio, in your Telegram channel, in your email signature, in VK posts. Use a short link from Vibes so the URL is clean and easy to share. If you want to track which channel drives the most visits, add UTM parameters to each version of the link.
Step six: monitor engagement
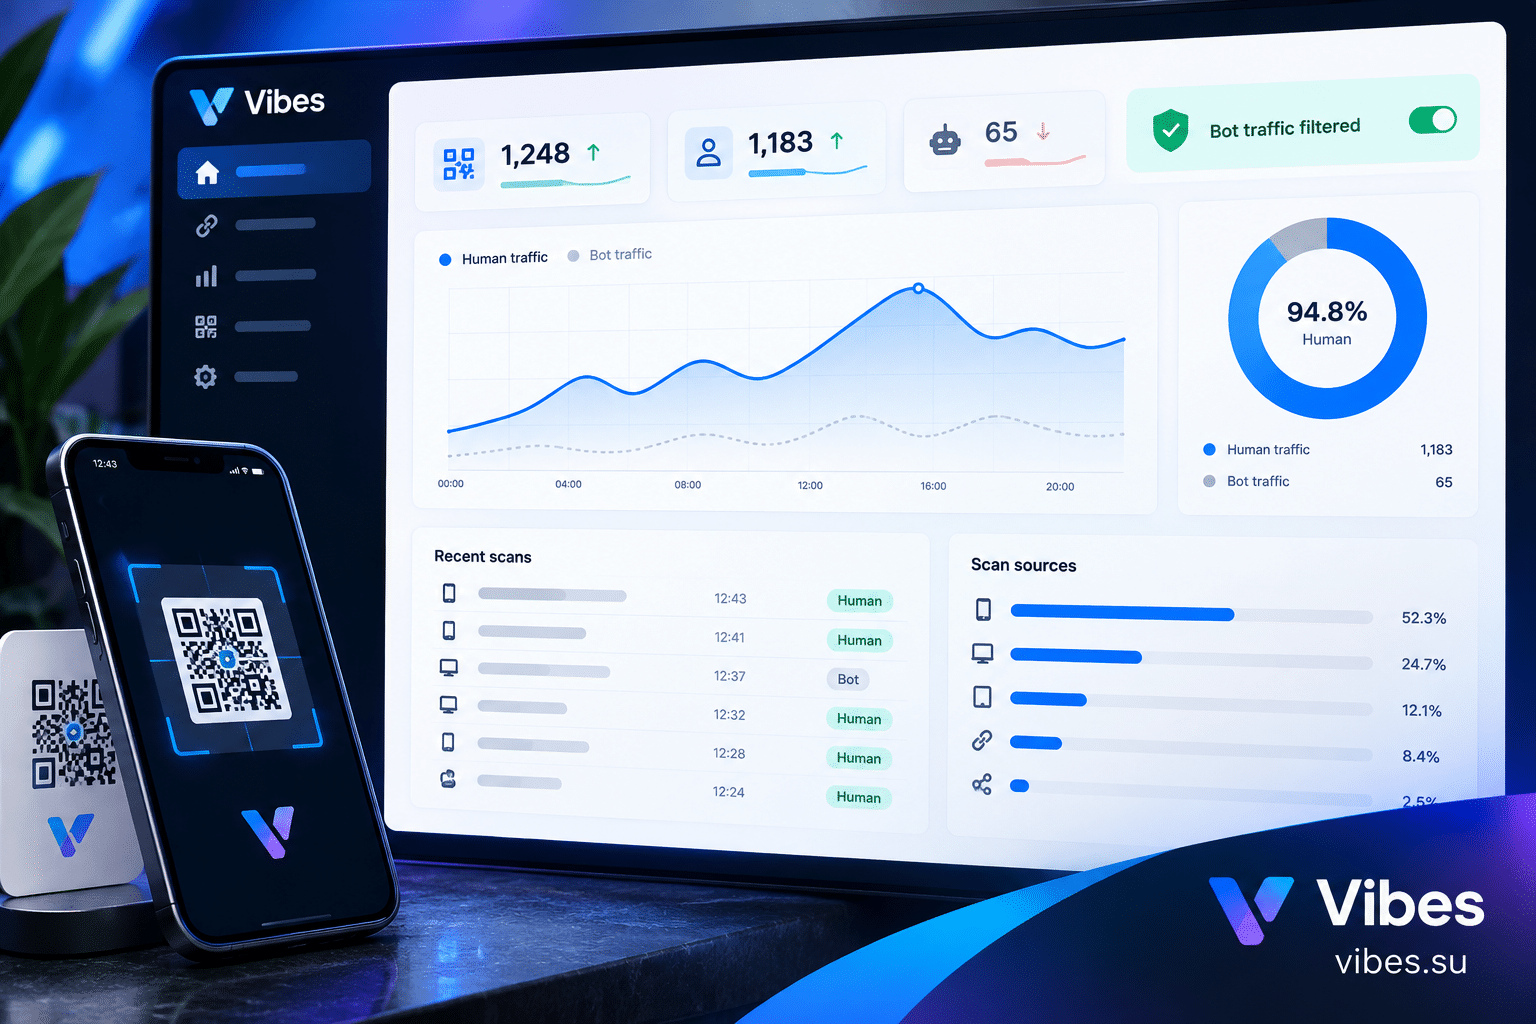
In the Vibes analytics, you can see how many people opened the page, how many clicked each link, and where they came from. If the splash screen is causing people to leave, you will see it in the bounce rate. If people are clicking through to the product link, you will see it in the click data.
Use this data to improve. If the bounce rate is high, try a different splash screen message or a shorter duration. If the click rate on the product link is low, try moving it higher on the page or changing the text.
Scenario: online course launch with webinar
You are launching an online course. You have a webinar scheduled for next week. You want to collect registrations and build anticipation.
You create a bio page with three blocks: a headline for the course, a link to register for the webinar, and a link to a free bonus for people who register. You add a splash screen with a countdown to the webinar and your logo.
You share the link in your Telegram channel and in your email signature. When people click, they see the splash screen with the countdown. This creates urgency. Then they see the bio page with the registration link. They register.
After the webinar, you update the bio page. The splash screen changes to "Replay available now". The blocks change to a link to the replay, a link to the course, and a link to a limited-time discount. You share the link again. People who missed the webinar can watch the replay and buy the course.
Scenario: SaaS product launch with demo booking
You are launching a SaaS product. You want to book demos and collect emails from early adopters.
You create a bio page with a headline for the product, a link to book a demo, a link to a free trial, and an email capture form. You add a splash screen with the product logo and a message: "The future of [category] starts here."
You share the link on Product Hunt, in relevant Telegram groups, and in your newsletter. When people click, they see the splash screen, then the bio page. They can book a demo or start a trial immediately.
In the analytics, you see which channels drive the most demo bookings. If Product Hunt drives more than Telegram, you focus your promotion there. If the email capture form gets many submissions, you follow up with a nurture sequence.
Scenario: physical product launch with pre-orders
You are launching a physical product, like a book or a gadget. You want to collect pre-orders and build a waitlist.
You create a bio page with a headline, a link to pre-order, a link to a video demo, and a link to your social media for updates. You add a splash screen with the product image and a message: "Pre-orders open now."
You share the link on Instagram, VK, and Telegram. When people click, they see the splash screen with the product image. This builds recognition. Then they see the bio page with the pre-order link. They order.
After the launch, you update the page. The splash screen changes to "Thank you for your support". The blocks change to a link to the product page, a link to customer reviews, and a link to your next product. You keep the page live as a permanent link for the product.
Best practices for splash screens on launch pages
Keep the splash screen short. Three to five seconds is enough. If it stays longer, visitors get impatient. If you need more time to explain something, use the bio page, not the splash screen.
Make the logo clear. The splash screen is a brand moment. Use a high-resolution logo that looks sharp on any screen. If the logo is blurry or pixelated, it looks unprofessional.
Use a simple message. One sentence is enough. "Launching on October 15" or "Pre-orders open now". Do not write a paragraph. The visitor will not read it.
Match the splash screen to the launch. If the launch is exciting, use bold colors. If the launch is premium, use dark colors and elegant fonts. The splash screen sets the tone for the entire experience.
Add a skip button. Not everyone wants to wait. A "Continue" or "Skip" button gives the visitor control. This reduces frustration and improves the experience.
Test on slow connections. If your visitors are on a slow mobile connection, the splash screen might be the only thing they see for a while. Make sure it looks good and loads fast, even on slow connections.
Track everything. Use UTM parameters to track which channels drive the most visits and conversions. Check the analytics regularly to see what works and what does not.
Common mistakes with launch bio pages and splash screens
The first mistake is a splash screen that is too long. If it stays for ten seconds, visitors will leave. Keep it short. Three to five seconds is the sweet spot.
The second mistake is too many links on the bio page. A launch page should be focused. Five to seven links maximum. If you have more, the visitor does not know what to do.
The third mistake is no clear call to action. Every launch page needs one primary action: register, pre-order, book a demo. Make it obvious. Do not make the visitor guess.
The fourth mistake is ignoring mobile. Most visitors will open the page on a phone. Test the splash screen and the bio page on mobile before sharing the link.
The fifth mistake is not updating the page after the launch. A launch page is temporary. After the launch, update it to reflect the new reality: the product is available, the webinar is over, the pre-order is closed. If you leave the launch page unchanged, visitors will be confused.
The sixth mistake is no analytics. If you do not track visits and clicks, you do not know what works. Use UTM parameters and check the analytics regularly.
How to use splash screens beyond launches
Splash screens are not only for product launches. They work for other scenarios too.
For events. If you are hosting a webinar or a conference, a splash screen can show the event name and date. Visitors see the splash screen, then the bio page with the registration link and the agenda.
For promotions. If you are running a limited-time promotion, a splash screen can show the discount and the deadline. This creates urgency and encourages immediate action.
For content creators. If you are launching a new video or podcast episode, a splash screen can show the title and the release date. Visitors see the splash screen, then the bio page with links to the content.
For personal branding. If you are updating your bio page with new links, a splash screen can announce the change. "New links added. Check them out." This encourages returning visitors to explore.
In each case, the splash screen serves the same purpose: it creates a moment, builds anticipation, and hides loading time. The content of the splash screen changes, but the mechanics stay the same.
FAQ
Do I need a splash screen for every bio page?
No. Splash screens are best for launches, promotions, and events. For a regular bio page that you use every day, a splash screen is unnecessary and can be annoying. Use it when you have something new to announce.
Can I use a video as a splash screen?
In Vibes, splash screens support images and logos. Video splash screens are not supported. If you want to use video, you can embed it on the bio page after the splash screen.
How long should the splash screen stay visible?
Three to five seconds is ideal. If the page loads faster, the splash screen can be shorter. If the page has many images and loads slowly, the splash screen can be longer to hide the delay.
Can I skip the splash screen?
You can add a skip button to the splash screen. This lets visitors bypass the splash screen and go directly to the bio page. This is useful for returning visitors who have already seen the splash screen.
If you do not add a skip button, the splash screen will stay for the configured time and then disappear automatically.
What should I put on the splash screen?
A logo, a short message, and optionally a countdown or a button. The message should be one sentence. Examples: "Launching October 15", "Pre-orders open now", "Something new is coming".
Can I use a splash screen on a static site?
Splash screens in Vibes are part of bio pages. If you are using a static site, you would need to implement a splash screen in HTML and CSS yourself. This is possible but more complex. For most users, a bio page with a splash screen is easier.
How do I track how many people see the splash screen?
In the Vibes analytics, you can see how many people opened the page. This includes people who saw the splash screen. You can also see how many people clicked through to the bio page content, which tells you how many stayed after the splash screen.
Can I have different splash screens for different visitors?
Not in the current version of Vibes. The splash screen is the same for all visitors. If you want to personalize the experience, you can use different bio pages for different audiences and share the appropriate link with each group.
Final thoughts
A product launch is a moment. You have a limited window to capture attention, build interest, and convert visitors into customers. A splash screen with a bio page gives you a branded first impression and a flexible list of links. It is fast to set up, easy to update, and it works on any device.
The key is to keep it simple. One clear message on the splash screen. Five to seven focused links on the bio page. One primary call to action. Track everything so you know what works.
Start with your next launch. Create a bio page, add a splash screen, and share the link. When you see the analytics, you will know whether the splash screen helped or hurt. Adjust and improve. Within a few launches, you will have a repeatable process that builds anticipation and drives conversions.
Create a bio page with a splash screen in Vibes. The Free plan includes one bio page with splash screen support. Sign up and create your launch page in minutes. Compare plans at Pricing. To learn more about bio pages for launches, read our guide on Sign up. To understand how to track engagement, see tracking bio page engagement.