Why launch links need more control than ordinary links
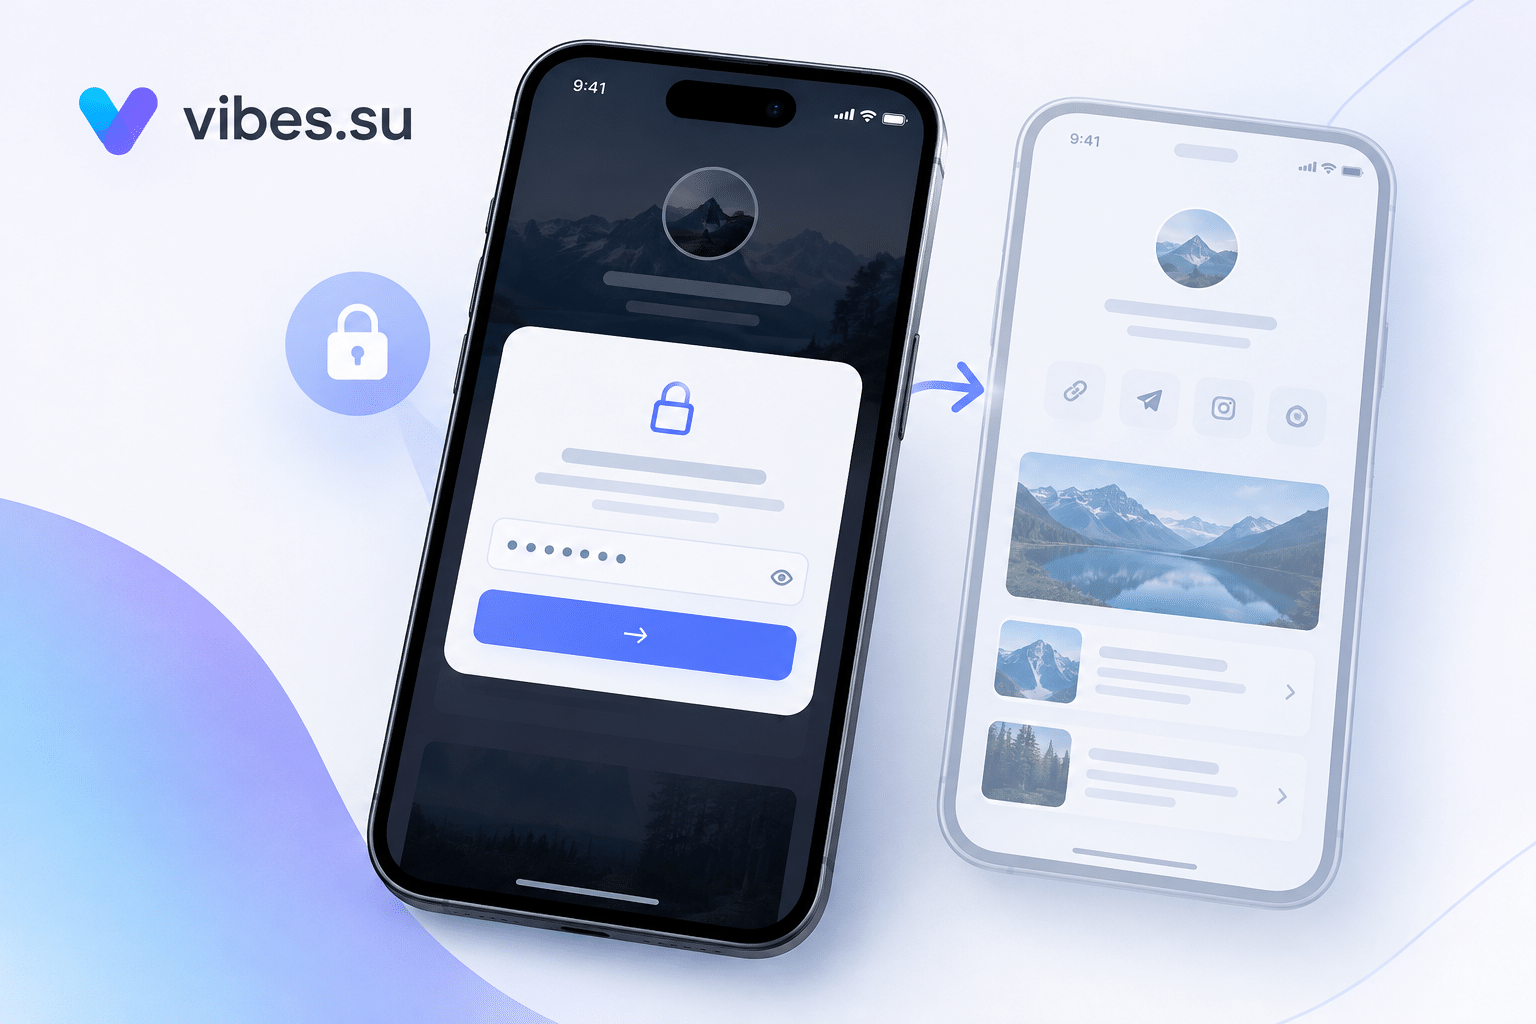
A product launch is not a normal day. You have a specific moment when something becomes available, a group of people you want to reach, and a limited window in which attention is at its peak. A plain short link works for sharing a URL, but it does not help you manage timing, access, or urgency. That is where scheduling and click limits come in.
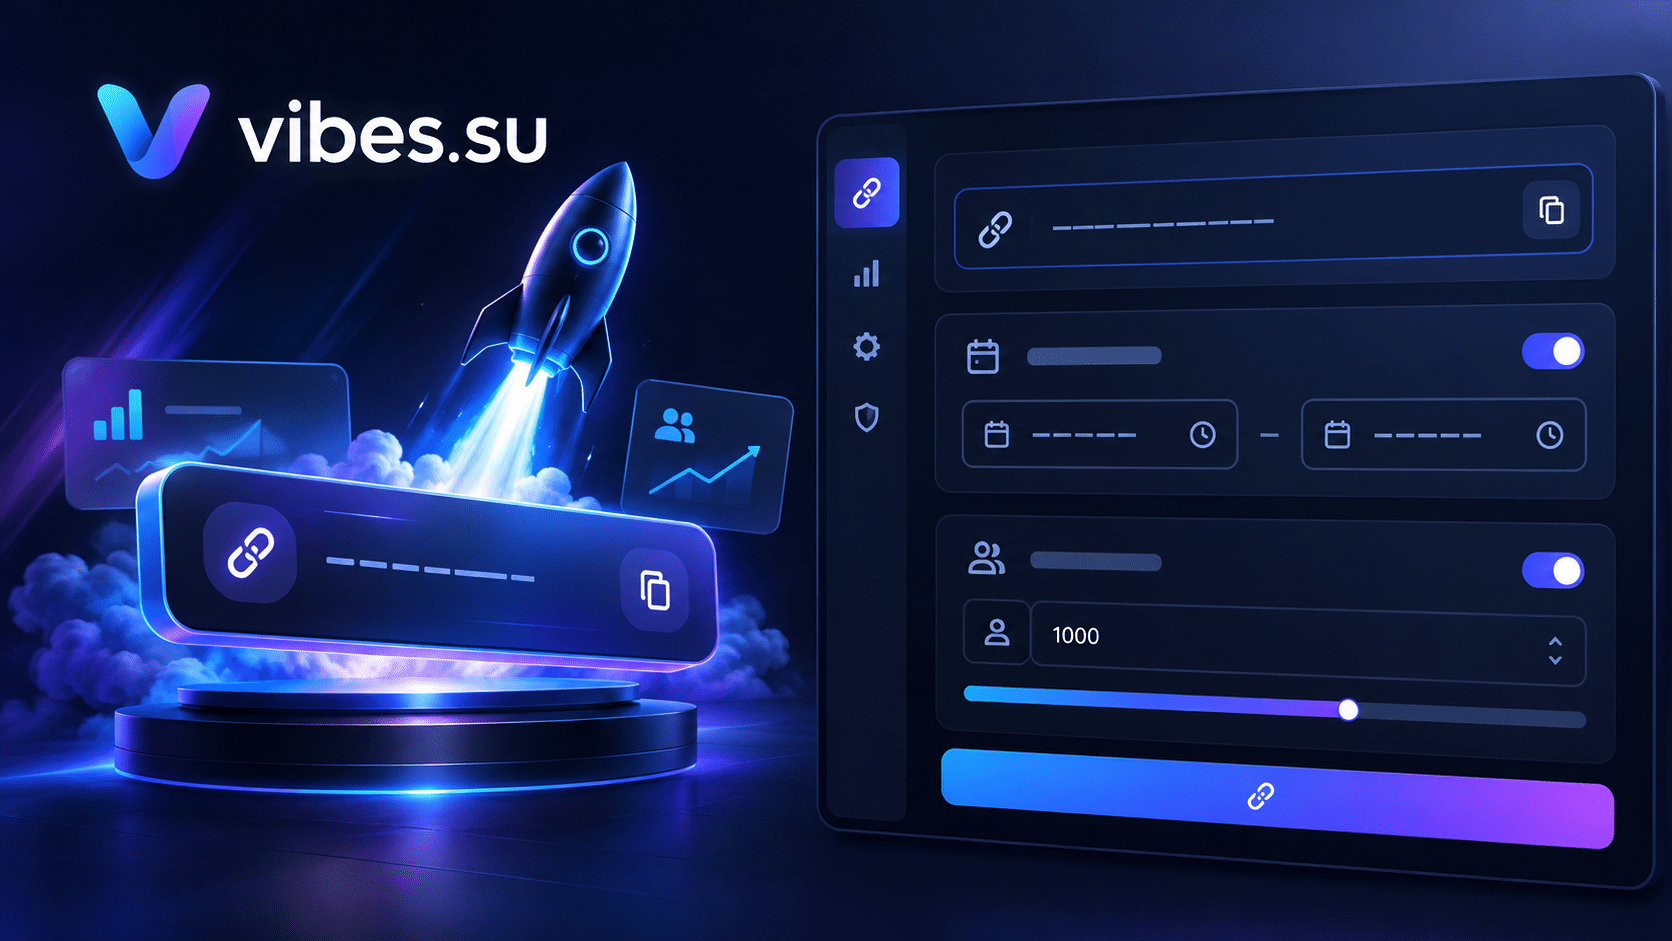
A scheduled link activates at a specific moment. A limited link stops working after a set number of clicks or after a set time. Together, they let you shape how a launch unfolds: when people can first access it, how long the window stays open, and what happens when the limit is reached.
This article is about how to use these features in practice. It is not about the general idea of shortening URLs. It is about the specific scenario of a product launch, where timing and scarcity matter.
What scheduling a short link actually does
When you schedule a short link, you decide in advance when it becomes active. Before that moment, the link either does not resolve or shows a placeholder. After it, the link works normally.
This matters for launches because you often need to prepare everything ahead of time without revealing the destination too early. You can print materials, write posts, prepare emails, and place the link everywhere it needs to be, knowing that it will not lead anywhere until the exact moment you choose.
It also helps with coordination. If several people are involved in a launch, they can all prepare their parts with the same link, and the activation happens automatically at the agreed time. No one has to remember to switch anything on.
There is also a psychological effect. When people know that a link will become active at a certain time, they are more likely to be ready for it. This is different from a link that might go live at any moment.
What a click limit adds to a launch
A click limit does something different. It caps the number of times a link can be used. Once the limit is reached, the link stops working, either permanently or until you reset it.
For a product launch, this is useful in several ways.
First, it creates genuine scarcity. If the link is limited to a certain number of accesses, people understand that not everyone will get in, and they act faster.
Second, it protects your infrastructure. If you expect a surge of traffic and your page or offer can only handle so many people at once, a click limit prevents overload.
Third, it helps you control who gets access in a tiered launch. You might release a limited link to one group first, then open a broader link later.
Fourth, it gives you a clean way to close a launch. Instead of manually disabling a link or hoping people stop using it, you set a limit and let it end on its own.
Combining schedule and limit for a launch
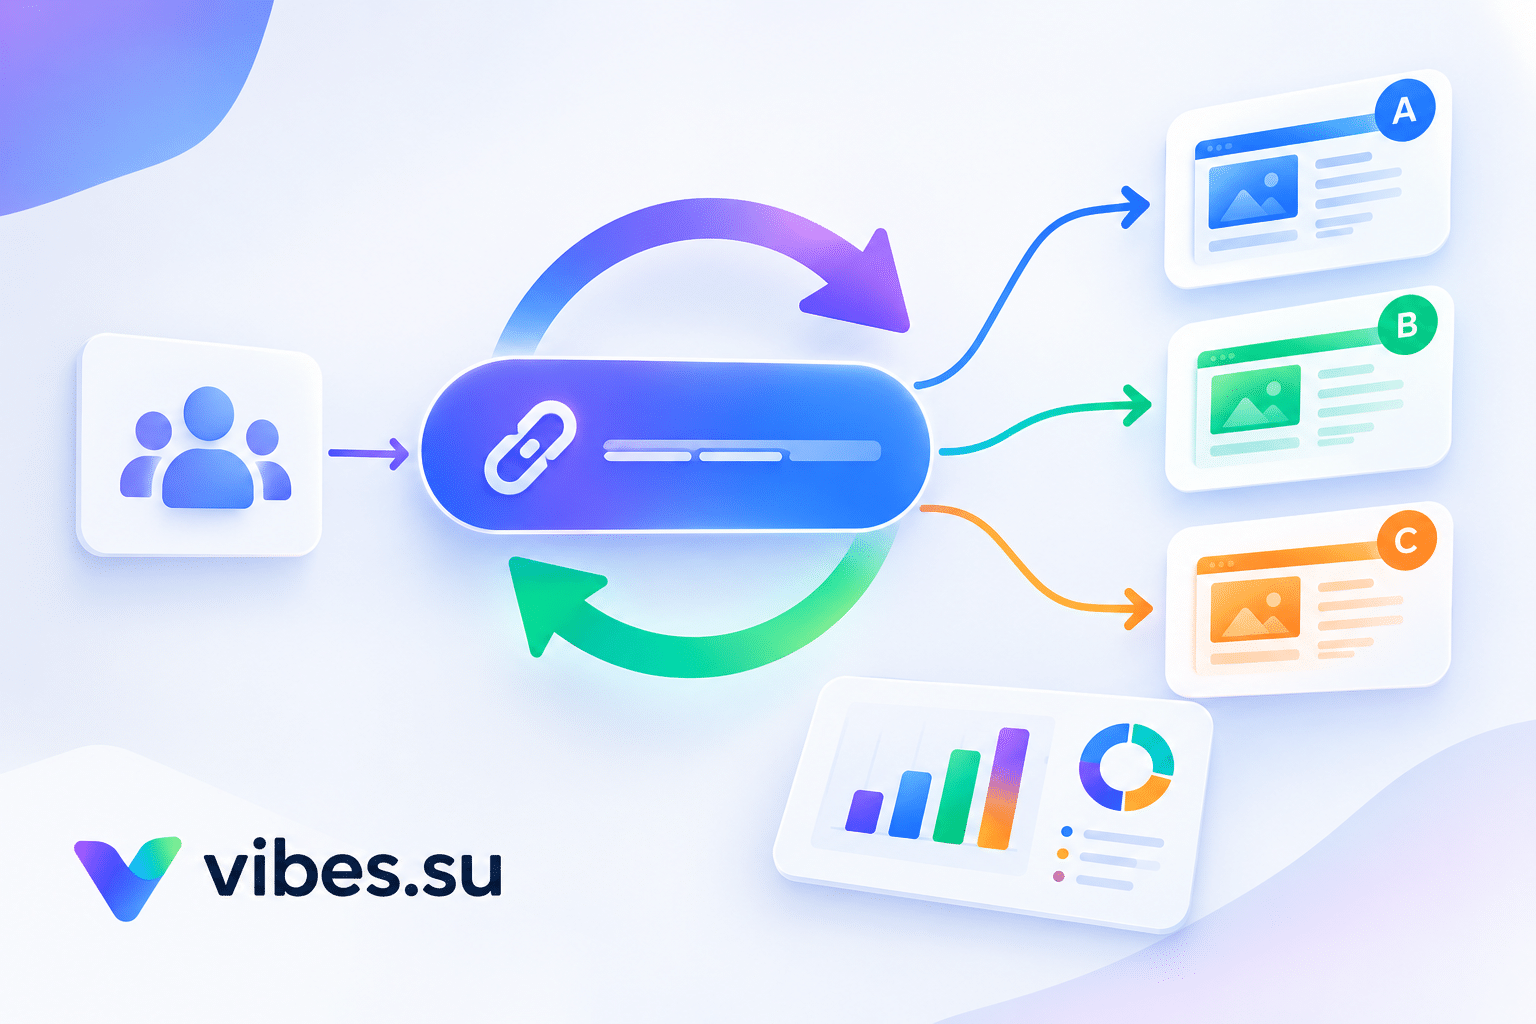
Scheduling and limiting work best together. The schedule controls when the link becomes available; the limit controls how long it stays available or how many people can use it.
A common pattern for a product launch looks like this:
— the link is prepared days in advance and placed in all the materials;
— the schedule is set so the link activates at the exact launch moment;
— a click limit is set to cap total accesses, or a time window is set to close the link after a certain period;
— after the launch, the link either stops working or redirects to a different page, such as a waitlist or a regular product page.
This gives you a launch that starts and ends on your terms, without manual intervention at the critical moment.
When to use a time window instead of a click limit
A click limit and a time window both restrict access, but they do different things.
A click limit is about how many people can use the link. It is useful when the constraint is capacity: your page can handle a certain number of visitors, or your offer is limited to a certain number of participants.
A time window is about when the link works. It is useful when the constraint is timing: the offer is available only during a specific period, or the launch is tied to an event that has a fixed duration.
In some launches, you might use both. For example, a link that is active for 24 hours and limited to the first 500 clicks. This combines urgency of time with urgency of quantity.
The choice depends on what you are trying to achieve. If the goal is to fill a limited number of spots, use a click limit. If the goal is to create a short, focused window of attention, use a time window.
How to set up a scheduled launch link in practice
The exact steps depend on the service you use, but the logic is similar across tools.
First, create the short link as you normally would, pointing to the launch page.
Second, find the scheduling option. Set the date and time when the link should become active. If the service supports it, also set an end time.
Third, find the limit option. Set either a maximum number of clicks or a time window, depending on what you need.
Fourth, decide what happens when the limit is reached or the window closes. Some services show a generic message; others let you redirect to a different page. If possible, redirect to a page that explains the situation and offers a next step, such as joining a waitlist.
Fifth, test the link before the launch. Check that it does not work before the scheduled time, that it works after, and that the limit behaves as expected.
Sixth, place the link everywhere it needs to be. Because it is scheduled, you can do this in advance without worrying that it will go live too early.
For more on how short links work in general, see URL rotation and A/B testing for short links.
What to do when the limit is reached
The moment a limited link stops working is a moment of truth. How you handle it affects how people feel about your launch.
If the link simply shows an error, people may feel frustrated or confused. If it redirects to a page that explains what happened and offers an alternative, the experience is much better.
Good options for the after-limit page include:
— a waitlist signup, so people can be notified when access opens again;
— a regular product page, so people can still learn about what you offer;
— a message explaining that the limit was reached and when the next opportunity will be;
— a different offer, if you have something else available.
The goal is to avoid a dead end. Even if people did not get in, they should leave with a clear idea of what to do next.
How to communicate a scheduled or limited link to your audience
The features only work if people understand them. If no one knows the link is scheduled or limited, the urgency is lost.
Before the launch, tell people when the link will become active. If there is a limit, tell them what it is. Be specific: not just "soon" but "at 10:00 on Tuesday" or "the first 200 people".
During the launch, remind people that the window is open and, if relevant, how much time or how many spots remain. This is where a scheduled and limited link becomes a real tool: it gives you something concrete to communicate.
After the limit is reached or the window closes, tell people what happened and what comes next. Do not leave them guessing.
The communication should match the mechanism. If the link is limited, say so. If it is scheduled, say when. The clearer the message, the more effective the launch.
Common mistakes with scheduled and limited links
A few mistakes come up often enough to be worth naming.
Mistake one: setting the schedule but not testing it. Always verify that the link behaves as expected before the launch. A scheduled link that activates at the wrong time, or does not activate at all, is worse than no schedule.
Mistake two: setting a limit that is too low or too high. If the limit is too low, you may cut off interested people unnecessarily. If it is too high, the scarcity effect disappears.
Mistake three: not planning what happens after the limit. If the link just stops working, people are left without a next step.
Mistake four: not telling people about the limit in advance. If the link stops working and no one expected it, the reaction is negative.
Mistake five: using a limited link for something that does not actually need a limit. If there is no real constraint, a limit can feel artificial and damage trust.
Mistake six: forgetting to update materials after the launch. If the link is still printed or posted somewhere after it stops working, people will keep trying to use it.
How to measure whether the launch link worked
After the launch, look at the data. A scheduled and limited link gives you specific things to measure.
First, how many people used the link during the active window. This tells you how well the timing worked.
Second, how quickly the limit was reached, if there was one. A limit reached in minutes means high demand; a limit reached slowly means the opposite.
Third, what people did after clicking. Did they convert, sign up, or leave? This tells you whether the launch page matched the expectation.
Fourth, what happened at the moment the link stopped working. Did people try again? Did they go to another page? This tells you how well the after-limit experience worked.
Fifth, how the launch compared to previous ones. If you have used scheduled or limited links before, compare the results. This helps you refine the approach over time.
For a broader look at how QR codes support event and launch scenarios, see QR code for events registration and check-in.
When scheduling and limits are not the right tool
These features are powerful, but they are not for every situation.
If your launch does not have a specific moment — for example, if the product is available continuously — scheduling adds complexity without benefit.
If there is no real constraint on capacity or time, a limit can feel artificial. People notice when scarcity is manufactured, and it can backfire.
If your audience is small and highly engaged, you may not need the urgency mechanics. A simple link might be enough.
If your launch is spread over a long period, a single scheduled window may not fit. In that case, a different structure might work better.
The question to ask is: does this launch actually benefit from controlled timing or limited access? If the answer is yes, these features help. If not, they add friction.
Frequently asked questions
Can I schedule a short link to activate at a specific time?
Yes, most services that support scheduling let you set a date and time when the link becomes active. Some also let you set an end time. Check your service for the exact options.
What happens when a limited short link reaches its click limit?
The link stops working. Depending on the service, it may show a message, redirect to another page, or simply fail. If possible, set up a redirect to a page that explains the situation and offers a next step.
Can I use both a schedule and a click limit on the same link?
Yes, in most services that support both features. The link activates at the scheduled time and stops working when the limit is reached, whichever comes first.
Should I tell people that a link is limited?
Yes. If people do not know a link is limited, the urgency effect is lost, and they may be confused when it stops working. Communicate the limit clearly in advance.
What is a good click limit for a product launch?
It depends on your capacity and your goals. Set a limit that matches what you can actually handle and that creates meaningful scarcity. Too low cuts off interested people; too high removes the effect.
What should happen after a limited link stops working?
Ideally, the link redirects to a page that explains the situation and offers a next step, such as a waitlist, a regular product page, or information about the next opportunity. Avoid leaving people at a dead end.